Showing posts with label Google Drive. Show all posts

Monday, November 5, 2018

FTT - Improving Student Communications with Google Products

Improving Student Communications with Google Products

@LisaBerghoff/@MrKimDHS


As mentioned earlier this year in a blog post about the SAMR model, its creator, Dr. Ruben Puentedura, is the real deal when it comes to innovation and wisdom in instructional technology and education. He's identified some complex challenges impeding the adoption of educational technology, and one such challenge is the ability to scale teaching innovations. Here's what I mean by scaling innovation:

Amazon has these wonderfully active factory floors where giant, roomba-like robots zip and zoom in perfect robotic harmony to move about hundreds of thousands of our impulse Amazon Prime purchases. While some jobs were unfortunately made obsolete, the efficiency of this system is crucial to support both the staggering growth of the Amazon empire, and our obsessive need to have [insert random household item here] delivered to our doors in two days for free! 

These efficient little machines are innovations that can be easily scaled. What works for one Amazon factory works for ALL Amazon factories. Unfortunately our classroom innovations do not always scale. Beneficial apps or digital resources that work for one class may not work for another class for various reasons like student age, course content, ability, instructor, and unfortunately financial support. 

This is what creates such value in tools like Gmail, Docs, Sheets, Slides, and other G Suite applications. These (relatively) free tech tools offer so much diverse utility to help establish digital equity and scale teaching innovations. (Disclaimer: I do not work for Google, nor do I get paid to advertise their products...but I am willing to. Call me Sundar!)

So on to the stuff! Heavily inspired by Vernon Hills High School's tech coaches, here are some simple ways to develop student communication with Google:

Student to Parents - Weekly E-mails

Encourage students to keep parents in the loop with a simple weekly/bi-weekly message. "Feedback Fridays" can be a quick 5 minute routine built into your curriculum. 


Student to Student - Class Backchannel

Create a Google Doc where students can communicate with each other during an activity in a non-intrusive or disruptive way.

Student to Teacher - FAQ Page

Ask students to contribute to a Frequently Asked Question doc or form. For individual projects or papers, create a Google Doc where students can add important questions. Students can initial questions they would like to be answered. 


Have other ideas for developing student communication skills? Post below!

Monday, October 9, 2017

FTT - Google Drive for File Storage

Google Drive
Two Tools: File Creation and File Storage 

@joe_edtech/@LisaBerghoff


Most people know that Google Drive is the online tool that allows your students to make collaborative documents, slideshows, and spreadsheets on their Chromebooks. I think many of us have also been using the tool frequently too when we want to collaborate with colleagues or survey students using Google Forms. But, it is really important to remember that Google Drive was designed to be two things, a place to create Docs, Sheets, and Forms, and a place to store ANY file. You do not have to convert files to store them on Google Drive. Literally any digital file can safely be stored in Google's Cloud and since we use Google Apps for Education, we have unlimited Google Drive Storage. Everything you've ever created on your computer can be stored in your school Drive Account and accessed by you from any computer.

Files that are stored in Google Drive do NOT have to be opened using Google Apps. For instance, I store Illustrator files in Drive, but I don't open them with Google Apps. I open them in Illustrator to edit them.

Google Drive is just a fancy way of saying Cloud Computing, but for those of us that don't live in the computer world, Cloud computing can be a scary and confusing topic. Last year, Lisa wrote another blog entry here that summed up Cloud Computing pretty well:

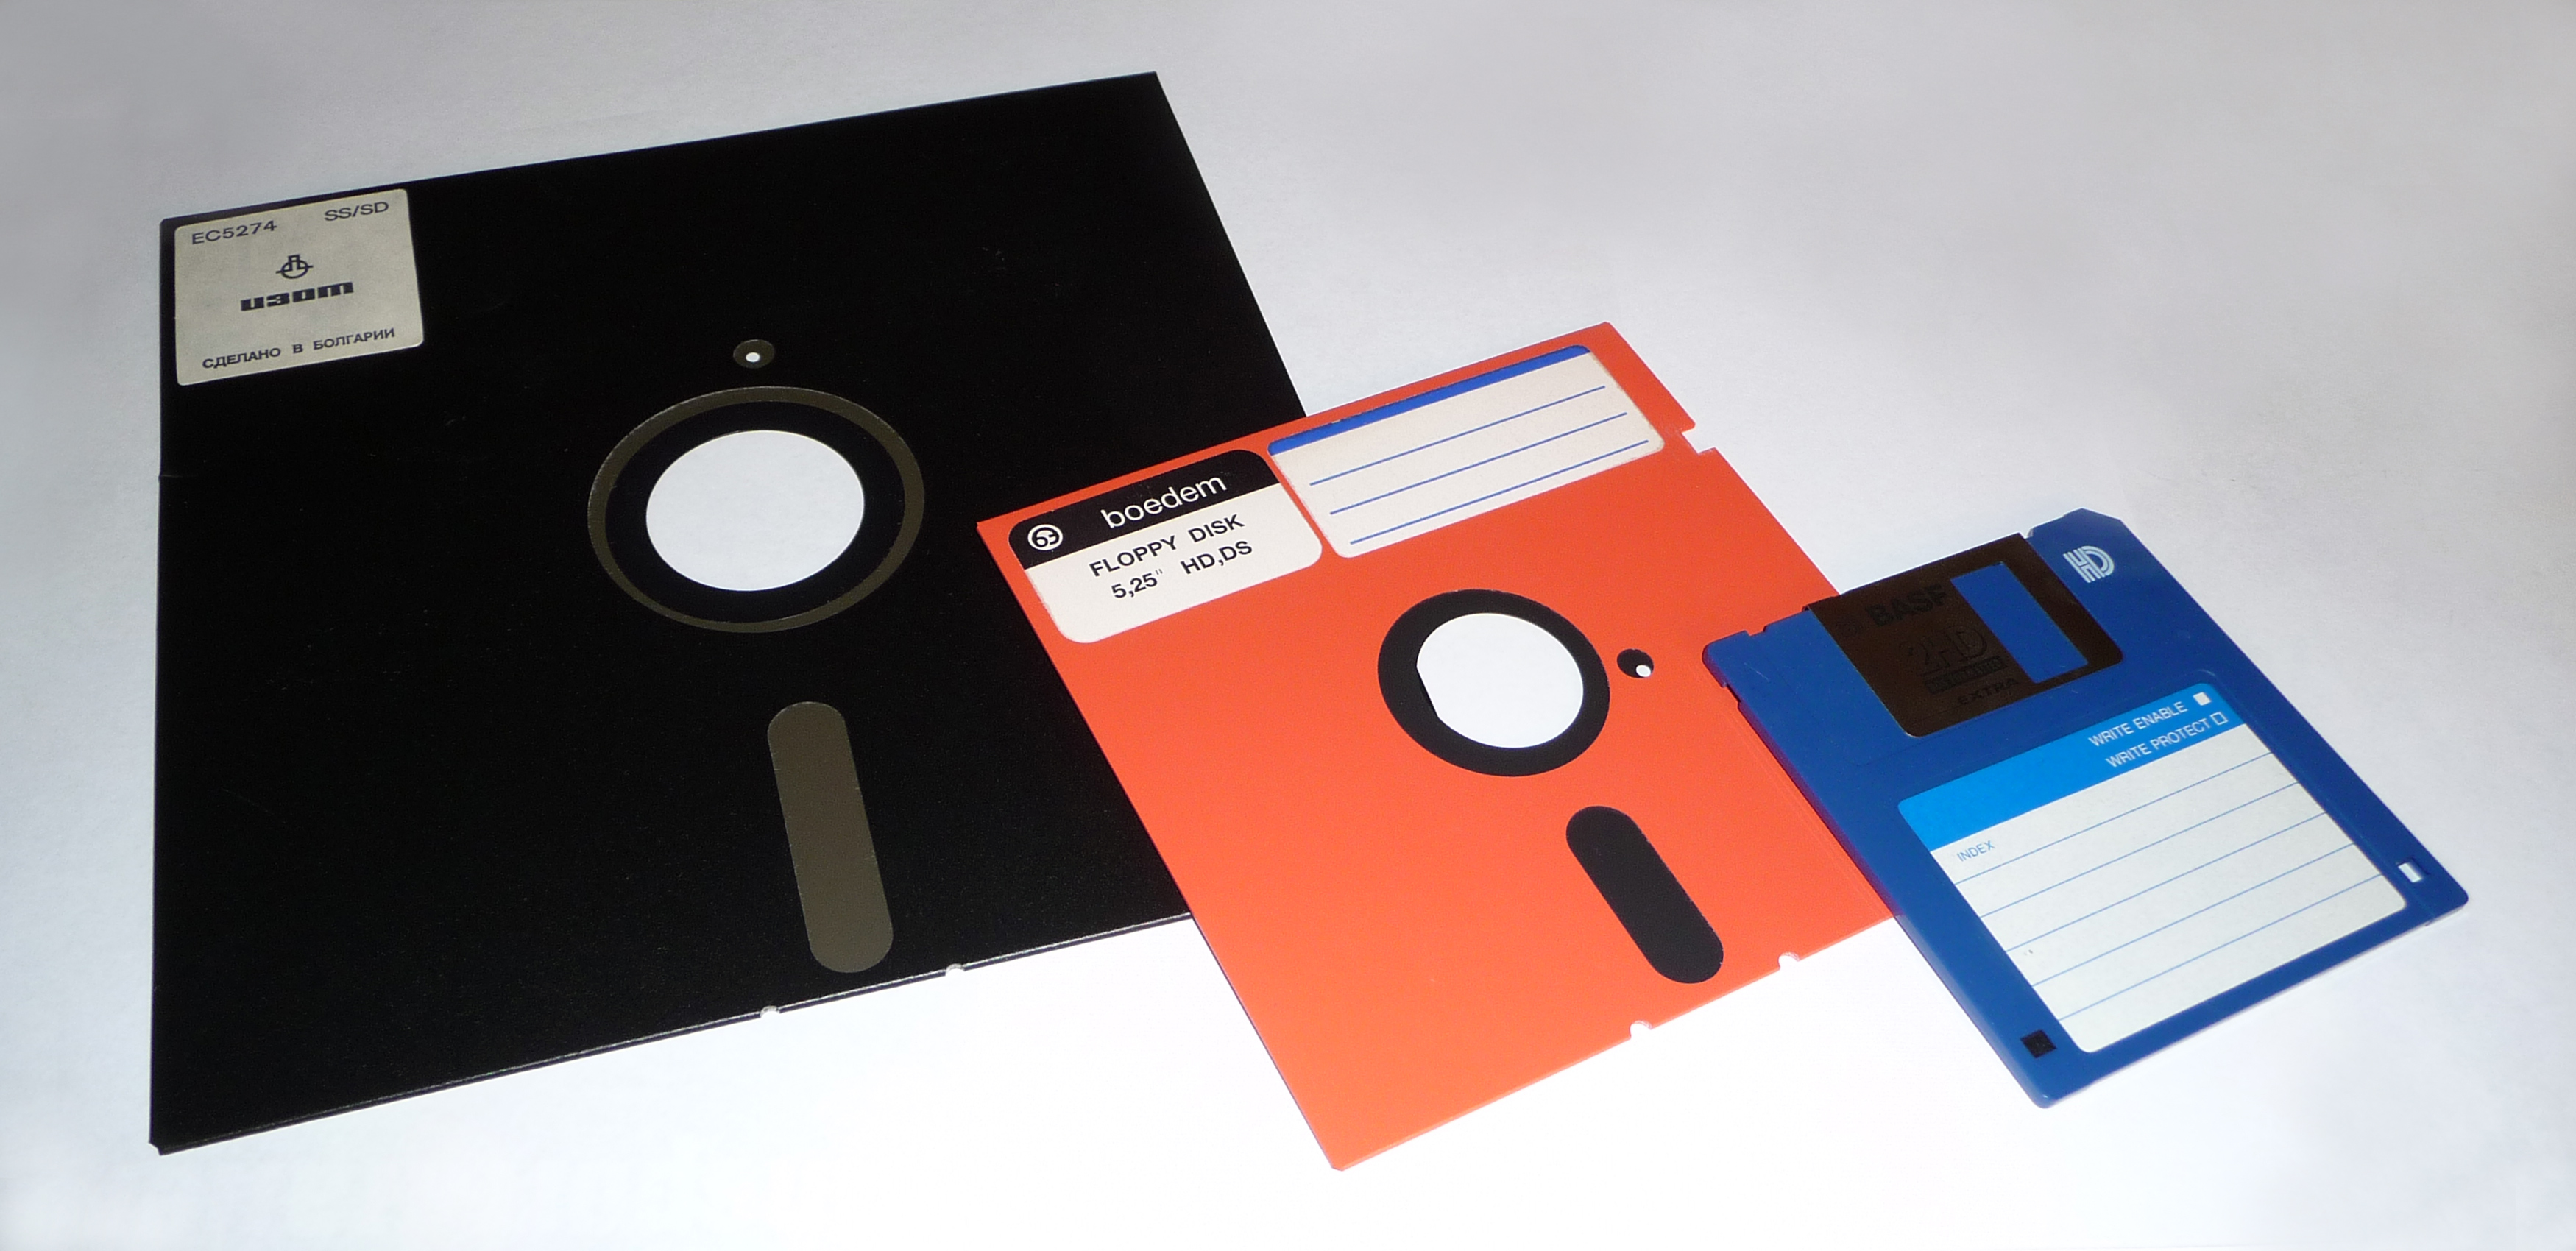
There are many things that I get nostalgic about when I think about the 80's and 90's. Floppy disks, however, are not in that category. Today we have many options for cloud storage. The latest and greatest of those is Google Drive. Here is a 2-minute video that explains the cloud. So many of you have asked and it's a great question. 


Why Would I Store Files in Drive?

The basic answer to this is that you have unlimited storage and you can access your files from any device that you own. Unlike with the old File Share option, you don't need anything special set up on your computer. You simply need to log into your Google Apps account from any device. When I go to visit my parents in Florida, I no longer take my computer with me. I don't need it. If I'm in a jam and need to access one of my files from school, I can log into Drive on my Phone and get what I need.

The biggest objection I hear to storing files in Google Drive is that some people don't want to change formats. Well, you don't have to change formats - not even from Word to Docs. In your Drive Settings, simply uncheck the box the box next to "Convert uploads," and your files will stay in their original format.


Both Deerfield and HPHS will be offering more training on Google Drive in the next few weeks. And you can always contact Lisa or myself if you have questions. But, the good news is you don't have to wait. There are literally thousands of help videos online that can answer help you answer any question you may have or provide you with a tutorial on getting started with file storage in Google Drive.

Here's an example Published by Anson Alexander from http://AnsonAlex.com.


---------------------------------------------------------------------------------------------------------------------
Some of you have been using the Google Drive App on your computer so that you don't even have to go through the Web to access your files. That process is getting even better with Drive File Stream. Look for an update on that very soon!

Tuesday, November 1, 2016

FTT - VideoNot.es & Google Drive

Flipped or Blended - Make Taking Notes on Videos Easy and Visible with VideoNot.es

@joe_edtech/@LisaBerghoff

One of the common complaints I hear about Chromebooks is how difficult it is to multitask on them. Sure you can open an endless number of tabs across the top, but moving between tabs to accomplish goals can be difficult. So, what do you do if you have a presentation or a video you want to give to your students, but you also want them to actively take notes or synthesize material?

If you are using an online video, VideoNot.es could be a great solution for your students. An add-on to Google Chrome, VideoNot.es allows you to split your screen and watch an instructional video on the left and take time-stamped notes on the right.


And because it is all integrated with Google Drive, it is simple to share notes in collaborative groups or just between student and teacher.

VideoNot.es can be found on the Chrome Web Store by clicking here. VideoNot.es is an extremely simple tool to use, but here is a quick video demo from Teacher's Tech:


-----------------------------------------------------------------------------------------------------------

What notetaking or multitasking shortcuts have you found for the Chromebook?

Tuesday, August 30, 2016

FTT - Google Form Quizzes

Creating Quizzes Using Google Forms

by
@joe_edtech/@LisaBerghoff

Google forms has always been a great tool for formative assessment. In the past, though, we've had to use an add-on called Flubaroo for grading. However, over the summer, Google released a major update to Forms allowing you to turn any form into a self-grading quiz with the flip of a switch. Follow the directions below to get started.


Start by creating your quiz as you always would. By the way, even though you automatically collect your students' email addresses in the process, I think it is a good idea to create questions for their first and last names. I'd also create a question for the period of your class. These quick steps will make it easy for you to view and sort the responses in spreadsheets if you choose to do so.

I recommend using short text items for students to enter their
names and the class period.
You can then start asking questions. Google Forms will automatically multiple-choice, checkbox, dropdown, linear scale, and multiple-choice grid items. Type in the questions and answer choices like you always have. Then click the "gear," or settings icon, in the upper right-hand corner of the form screen. You'll get a pop-up window with three tabs.

On the "General" tab, you can restrict the quiz to district users, automatically collect their email addresses (which is very important if you want to automatically send their scores to them), and limit each user to only 1 response.
There's one other big change on this page. If you uncheck the box next to "Response receipts," your students will not have the option of having a copy of the quiz and their answers emailed to them.

On the "Quizzes" tab, you'll need to first click the slider next to "Make this a quiz." Then you can make some decisions on when students get results, and how much information they receive. (Each option has a little question mark after it. Simply hover over the question mark to learn more about the option.)

Once you click save you'll need to set up your answer key.

Underneath each quiz item, you'll see a link titled "ANSWER KEY."
Click that link and you'll have a slightly different view of your quiz items. Now you can select the right answer and decide how many points each item is worth.


When you are finished making the quiz, click the "SEND" button to share the form with your students. 
You can email the form directly to your students or you can copy the link and post it to your Google Classroom, website, or Google Plus Community.

After your students take the quiz, you can view the results in a spreadsheet, or you can view responses in the form itself. 

Here is a pretty detailed video on getting started with Google Quizzes from fellow Google Trainer Mark Repp:


________________________________________________

This is meant to get you started with the Google Form Quiz feature. Lisa and I will share some advanced user tips in future blog posts. 


Tuesday, May 10, 2016

FTT - Google Slides Q&A Feature

Getting Interactive With New Features in Google Slides

@joe_edtech / @LisaBerghoff

Let's face it. I'm sold on Google. I'm Google Certified. Google Apps is my GoTo product in nearly every situation. I even suggested once that my work title be changed to "The Great Googley Moogly!" Copyright laws and a sense of responsibility prevented that from happening. 

However, I know that there are a lot of people out there who resisted adopting Google Slides initially because it was clunky and a little cartoonish. In the last few months, Google has added three features to Google slides that just might have its doubters taking a second look.

1. Presentation Templates

You never need to start a presentation from scratch. If you go to slides.google.com, or "File - New - From template," you can choose from a selection of professionally designed slide templates. All of the templates come with a variety of slide types and suggestions for presenting data.


Each of the templates has a variety of different slides that can be customized with pictures, colors, themes, etc.
Google Slide Template "Your big idea"

2. Embedded Q & A Feature

Every once in a while, Google has to retire a tool that has reached its end of life - usually because it simply isn't being used by very many people. One such tool, and one that I really liked, was called Moderator. Using Moderator, teachers or presenters could provide a space for students or audience members to ask questions during a presentation. All of the members of the class could see the questions and vote on their favorites. The more votes a question got, the more it moved to the top of the list of questions to be addressed by the "moderator" at the end of the presentation. The idea was that we usually have a limited amount of time to ask questions at the end of presentation. A tool like "Moderator" ensures that the most important questions- the ones most people in the audience want answered - are asked first.

While "Moderator" is gone, its best features are now a part of Google Slides! When you go to present, you can turn on the new Q&A Feature:

The Q&A Feature isn't complicated, but it is probably easier if you see what it looks like before you use it. So, I made a very short demo video below:


3. Virtual Laser Pointer

It's always good to be able to focus your audience on a single bullet point or statistic in your presentation. If you have a laser pointer, that's fantastic - but the FAA may want a word with you. If you don't have a laser pointer, you can use the new built-in pointer in Google Slides. When you are presenting, you can choose to turn your "laser pointer" on and it will create a highlighted trail as you move your mouse across the screen. 


For those of you hockey enthusiasts out there, the NHL tried something similar with the puck on TV broadcasts a few years ago. This seems a little more useful.

------------------------------------------------------------------------------------------------------------------
Noticed something new in Google that might be useful to share? Please tell us about it in the comments below.

Tuesday, February 2, 2016

FTT - Searching with Power

Don't Just Search for your Docs - Search Well

@joe_edtech/@LisaBerghoff

I used to love asking classes full of freshmen to explain Google to me. Specifically, I would ask, "What is Google?" A complex question for sure, because Google is a multi-billion dollar international industry that is always growing and changing, offering new services, products, and entire platforms. All true, of course, but the simplest answer is always the best - and this is the answer I always rewarded with chocolate. Google is a search engine. 

Indeed it is a search engine. Everything else from Google is but an extension of the search engine. One of the reasons I love Gmail, Google Docs, and Google Drive is that the search functions are so robust. In fact, the search in Google Drive just got better.

Loyal readers (that would be my mom) remember that last year I spent some time writing about advanced search options in Google. Well, the same basic principles apply to searching in Google Drive. To start with, don't simply trust the first suggestions you get. You'll always get better results by typing in your full search terms and clicking the blue magnifying glass icon at the far right of the search bar.


When you start to type characters into the search window in Google Drive, you'll get a drop-down window with a partial list of matching documents in your drive. But if you type in the whole search term and click the blue magnifying glass, you'll get a far more complete list. Additionally, Google recently improved search in Google Drive. Now, when you click the "inverted triangle" icon in the search window, you'll get a drop-down window with an advanced search option.


If you are having trouble finding that pesky document, you can search by owner, or even search for words included in the document. You can even easily search for items you may have inadvertently thrown into the trash.

You can also get to the advanced search just by putting your cursor in the Google Drive search bar. You'll see a list of filters (for instance, you can search all of your PDFs, or Text documents), but if you click on "More search tools" at the bottom of the drop-down window, the advanced search window will open.

---------------------------------------------------------------------------------------------------------------------------------------
Got any search tips or tricks to share? Please post them in the comments below.

Tuesday, November 24, 2015

FTT - Online Mind Mapping/Coggle

Reading Tragedies... Wait, Are We Talking About Shakespeare?

@joe_edtech / @LisaBerghoff

My daughter, 14 year old Princess in training, has an IEP because she struggles with reading comprehension. I am just not sure if her case manager hates it or loves it that Katherine's dad is a professional educator. I think she hates it because I ask questions that can sometimes be pointed (maybe snippy). For instance, this year I asked what "reading strategies" she had used in the classroom. The answer was, "I'm sorry, what are 'reading tragedies?'" - Yes, I actually felt my aorta pulse.

So, after the meeting, I went right to the source. I asked my daughter if she learned more from her reading teacher at school, or from the private reading tutor I hired. After I got past the initial discussion about, "Dad, I love all of my teachers equally," I finally got the answer I was looking for. "Well, the stuff that I read in school is all pretty much the same, and very boring. The stuff I read from the reading tutor is a lot more exciting, and I understand it and remember it a lot better." Of course, her comment speaks to the importance of reading selection, but she went further. "With [the private tutor] we make a lot of mind maps and it helps me remember things a lot better."

Mind Mapping! Concept Mapping! How often we forget to take such a simple step even when we know most of our kids are visual learners. In my district, we used to use a very expensive piece of software to do this; but in the era of budget cuts, we may or may not have access to expensive, limited use pieces of software. However, concept maps are important whether we are talking about reading strategies, note taking strategies, or simple brain storming activities. I know of three great Web 2.0 tools for creating concept maps collaboratively, without spending a single dime.

The first is relatively new to my repertoire, but it has come to be one of my favorites. Coggle is a web tool, also available as a Chrome App on the Chrome Web Store, that not only allows students to create colorful and dynamic mind maps, it also allows for easy interaction between groups of students and teachers. One of the newest features to Coggle is a chat window where collaborators and teachers can leave notes or engage in live chat, which means, like most good Web 2.0 tools, students can be working synchronously, asynchronously, independently, or with an instructor.

Rather than linked geometric shapes, Coggle mind maps look organic, mimicking connections in the brain. Furthermore, Coggle makes it extremely easy to use color and format text. When the mind map is complete, there is no need to print. You can share it with any user online, store them in folders on your Coggle account, and even organize them in Google Drive. If there is a negative to this tool it is that all mind maps are public - meaning anyone can view the Coggle's you make. That could be a positive, if you are working on a subject that is new to you, you can search through existing Coggles to see how others have mapped the concepts.

Here's a short video intro to get you started with Coggle:


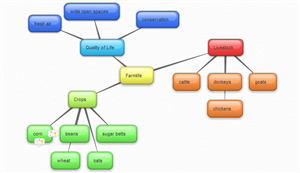
The map to the left, a more traditional mind map, was created in a Web 2.0 program called bubbl.us. For free, you can go to bubbl.us, create an account and start making concept maps. What's more, you can create teams and collaborate on concept maps with other users. With a simple click, you can download your mind map as a .jpg or .png and embed it in a document or on a website.


Google Draw Screen Capture
An often overlooked tool for mind mapping is Google Drive. In addition to docs, spreadsheets, and presentations, you can create Google Drawings. Once in the drawing, you can add, and add text to shapes and "call outs" (think the comics page in your Sunday Newspaper). As with all Google Drive products, it is simple to collaborate and share your work with other users. Drawings can be embedded on Google Sites, in Docs, and in Presentations, or you can simply download them as .pdfs.

If your class is BYOD, or uses iPads or iPhones, there is an excellent iOS App called iBrainstorm that allows users to create simple concept maps with sticky notes. Collaboration is possible, but trickier on the iPad App. But if you connect several iPhones to the same iPad, you can actually "flick" sticky notes from one device to another.

The Chrome Web Store offers several others that might be worth a try, including: ConnectedMind, MindMap, MindMeister, LucidChart, Mindomo, and Mind42.
----------------------------------------------------------------------------------------------------------------------
I'm aware of free software packages like Vue or FreeMind, but are there other Web 2.0 solutions out there like this? If you are using Mind Mapping Software in your class, please share your favorite in the comment section below.

Tuesday, May 5, 2015

FTT - Google Classroom III: Goobric

Doctopus and Goobric are Google Add Ons that can
significantly improve the grading process in Classroom
Grading In Google Classroom Using Doctopus and Goobric

@joe_edtech

This is the third in a series of 3 Free Tech Tools Tuesday posts on Google Classroom.

I'm actually writing this on Star Wars Day, and I'm trying to use the Force to see what the future holds for Google Classroom. Difficult to see, it is. But, I am pretty sure that we will continue to see rapid improvements. For instance, I assume there will be seamless integration with Google Calendar soon. And, I also assume that there will be sophisticated grading options that include annotation, inking, and the easy integration of rubrics. 

Classroom is still in its infancy, and much of the good stuff is still in the future. But Classroom is still a Google Apps for Education tool, which means there is enough flexibility built into the suite to give us plenty of options. While Classroom may not have integrated rubrics yet, but, with a little effort, we can trick Classroom into being a platform that supports rubrics. Prior to Classroom, many of us got used to using Doctopus and Goobric to grade assignments inside Google Drive. Written by Andrew Stillman and the geniuses at New Visions Cloud Lab, Doctopus is a Drive Add-On that helps organize digital assignments into an easily manageable spreadsheet, and Goobric is a Chrome Extension that lets you attach a rudimentary rubric to any Google Doc.

While you can use the Doctopus and Goobric tools on their own, they have actually become more effective when used in conjunction with Google Classroom. Here's a short - ish - video to show you how:
---------------------------------------------------------------------------------------------------------
Is it worth the effort? Would you use Doctopus and Goobric in conjunction with your Classroom Assignments, or are you going to wait for Classroom to integrate some of these functions as a part of the LMS?

Tuesday, February 3, 2015

FTT - Two Google Add Ons to Make Sheets Easy to Read

Image from New Visions Cloud Lab

They Completed Your Google Form. Now, How Do You Read Their Answers?


@joe_edtech


While your students will sit for HOURS completing the PARCC assessment, perhaps the reason the State and Federal Government have adopted such tests is that they are incredibly easy to grade - objective tests with a lot of selecting the right answers. All you have to do is run the answer sheet through a simple computer program and you have mountains of "achievement data" to turn into pretty graphs.

In the real world, and in the classroom, answers are not always objective. And most teachers want their students writing critically and creatively. Ask any Google Apps for Education teacher and they'll tell you that forms are the most efficient way to assess for learning, formatively or summatively. But, have you ever tried to read a free response answer or an essay on a Google Spreadsheet? If you have, you just winced. If you haven't - DON'T DO IT!
Save as Doc Add On

The Google Add On Store offers two great solutions for taking the written information in Google Form Response Spreadsheets and turning it into something useful. The first, and easiest tool is called "Save as Doc." This Add -On takes a column from a spreadsheet and saves the data in a very readable Google Doc. (See below for a demonstration of the "Save as Doc" Add On.) "Save as Doc" is probably best used if you want to generate a discussion with a group or quickly glance through answers to check for understanding. At a recent workshop, I had teachers fill out a form on which they wrote down some ideas they have about student grades. Rather than opening the results spreadsheet, I used "Save as Doc" and displayed the anonymous answers to the group to generate a full discussion.


The other Add On worth discussing is a little more complicated, but is perhaps my favorite Google Tool, and will prove worth your time to learn and utilize. autoCrat, by New Visions Cloud Lab, is a tool for merging data from a spreadsheet into a Doc or into another spreadsheet. Imagine giving your students an online quiz using Google Forms and having a Google Doc generated for each student with their answers displayed in an easy to grade, easy to comment, and easy to share way. You can also use autoCrat to create certificates or mail merge letters. Written directions for autoCrat can be found on the New Visions Cloud Lab page, or you can watch the video, created by Jay Atwood, embedded below for step-by-step instructions:


--------------------------------------------------------------------------------------------------------------------------
One of the benefits of being a part of the Google Apps for Education Community is that all GAFE Teachers and Trainers create "how to" materials for using Google products. While the first video is mine, the second video is posted by a fellow Google Education Trainer. If you find another good video tutorial for a Google Add On, please share it with us in the comment box below.

Tuesday, January 20, 2015

FTT - Kaizena Voice Comments

What Would You Like to Say to your Students About their Writing?

@joe_edtech

I'm not sure if this is normal behavior, but when I graded essays, I was almost always talking to my students about their writing - out loud - even though they weren't there in my living room when I was grading. And although I sometimes said it very loudly, apparently they couldn't hear what I was saying. That is a real shame because some of those comments were pure gold!

The fact of the matter is that good writing is conversational, and the best way to help a student rethink and revise their writing is through personal conversation. Google Drive made it a lot easier to carry on a conversation with students in text, but sometimes it is very difficult to determine tone in a text message, especially for students. Wouldn't it be nice if our students could hear the things we have to say about their writing?
Kaizena is available on the Chrome Webstore

If you install the "Kaizena Voice Comments" App on your Chrome browser then you can actually carry on a real conversation with your students about their writing projects. Instead of inserting a text comment into a section or line of the paper, the Voice Comments App allows you to give verbal feedback on the entire piece of writing, or on specific lines.

In an increasingly digital world, this could be a great way to engage kids in the writing process. I would likely use Kaizena Voice Comments with my students at the beginning of the writing process. Imagine being able to hold writing conferences with every student after every draft without the hassle of trying to schedule those conferences. And to be able to do all of that without getting out of my comfy chair in the living room, again, pure gold!

For a step-by-step direction sheet on getting started with Kaizena Voice Comments in Google Drive, click here. Also, you can feel free to visit the DHS GAPPS Resources page at any time.
---------------------------------------------------------
Have an idea for using Voice Comments with your students? Please share with us in the comments box below.

Thursday, November 6, 2014

Google Research Tools in Drive

"Search It Up!"

@joe_edtech

My daughter coined a new phrase recently in a meeting with her teacher, or at least I'm giving her credit for it. There was some question about the history of an activity at her school and the teacher said, "I just don't know that information." The student looked at him and said, "Well then get out your iPad and let's search it up!"

I'm not sure that is always the best way to meet the Common Core requirements on inquiry in the classroom, but I do think that the relatively new feature of Research Tools inside Google Drive is an interesting way to add some inquiry and research to even the most workaday writing assignment. How many times have you been grading student essays and written, "Can you prove this?" Well, now with a couple of clicks you can change your language and just tell them to, "Search it up!"
Get to a search menu in any Doc

In any Document Drive, if you simply click "Tools" and select "Research" from the drop down menu, you can open a research pane and look up topics without navigating away from your document. Not only that, the search bar gives you all of the features of the search bar in regular Google Search along with an easy to select option to look only in Google Scholar, for images, quotes, or for dictionary entries.

Every item, including regular web entries, gives you a preview option. Perhaps my favorite thing about Google Research is that when an image is dragged to a document from the research bar, a footnote citation is automatically added. I can't tell you how many years I've preached to staff and students alike that at the very least we should be teaching our students to cite the sources of the digital materials they include in papers and projects. Research tools makes that a no brainer. And you can also choose between APA, MLA, and Chicago for the style of citation.

Sample "Research" Pane
Personally, I love the idea of including more research in student projects, and I even like the idea of automating the citation process. However, I have two major reservations about Research Tools inside of Google Drive as a regular research solution. First, it certainly doesn't foster the idea that good research and good writing needs to be planned out carefully in advance. And secondly, and less significantly, all of the automatic citations are done in footnote instead of endnote form. That is not a deal breaker, it would simply require a different way of thinking and teaching about citation than what we are used to in high schools.

Research tools can be extremely useful if students use Google Drive to conduct research, compose outlines, and collaborate with teachers and fellow students. And it is an excellent tool for teaching about proper citation. So I see potential, and maybe it requires a slightly more creative thinker to realize the real power of this tool. 

But in the mean time, I certainly do hope that students and teachers alike use this tool to "Search it up!"

--------------------------------------------------
If you'd like to access my direction sheet on getting started with Research Tools in Drive, click here.

Tuesday, November 4, 2014

FTT - Google Scholar

Just Google It,
But Be Smart About It

@joe_edtech

To coincide with our Paired Late Start days, this week's blog will focus on Google researching tools. Tomorrow we'll look more closely at advanced search, and Thursday will be a look at research tools inside Drive.

Common Core is coming, and with it is an increased emphasis on inquiry and research models. When you take your kids to the library or computer lab and start discussing research with them. What is the first thing they want to do? Google it!

That may not be such a bad strategy if they know how to really use Google to perform targeted searches. One of the easiest ways to increase the educational value of Google searches is to use Google Scholar, Google's answer to the card catalog from my days in college. According to their website, Google Scholar allows users to "search across many disciplines and sources: articles, theses, books, abstracts and court opinions, from academic publishers, professional societies, online repositories, universities, and other websites" (About Google Scholar). In other words, it is Google Search grown up and gone to school.

As with any normal Google Search, when you enter a topic and click to search, you may get thousands of hits. However, there are some limitations. Many of the articles present you with the abstract only, unless you are willing to pay for it. Being a fan of freely available data myself, I usually look for entries labeled as [PDF]. That way you can be fairly certain you can download and read the entire article.
[PDF] entries can be downloaded in their entirety.
Advanced Google Scholar Search
There are two other things you can do to beef up your Google Scholar searches as well. The first is in the Google Scholar Settings. If you have the right login, or proxy, you can add your library's subscription sites to your Google Scholar searches. And more importantly, just as with regular Google Searches, you can click in the search bar to perform an advanced search, specifying exact phrases, authors, journals, or publish dates.

Google Scholar does not really replace our favorite library subscription sites, but it does make a good Google search tool a little bit more academic. 
-------------------------
For my step by step direction sheet on getting started with Google Scholar, click here.

Tuesday, September 9, 2014

FTT - MoveNote

Add Narration to Your Emails!

@joe_edtech

Today's blog post is essentially an embedded video demonstration. Sometimes that kind of thing makes me feel like I'm cheating on my blog, but there are some instructional tech tools that are best introduced through video.

The Movenote Chrome App is just one of those tools. Let's face it, if you give your kids a presentation using Google Slides or PowerPoint, the most important part of the presentation is what you have to say about the text and pictures you are providing the class.Using Movenote, you can quickly add narration to any presentation you need to share with a colleague you teach with, or a student who missed class. I suppose you could use Movenote to "flip" your classroom, but it is probably better for really quick explanations that go with documents, pictures, or presentations you want to share.

What better way to introduce Movenote than by sharing a completed Movenote?!?!

---------------------------------------
Have you tried Movenote? Tell us what you've used it for. Or, if you know of a Chrome App we should be using in the classroom more, tell us about it below.

Monday, September 1, 2014

FTT - VideoNot.es

VideoNot.es

Making Sense Out of Flipped Lessons

@joe_edtech


Recently I had the opportunity to run a workshop on "Flipped Classroom" techniques with an excellent veteran math teacher. As we sat down to talk about the things that have to be considered before teachers simply make a video and share it with their kids, we came up with a key list of pre-production ideas to focus on. The list included items like:
  • metascripts for lesson planning
  • production values for videos
  • software available
  • long term storage
While we had a great discussion about preparing instructors to teach in the flipped classroom, I think the piece we missed was preparing students to succeed in a flipped classroom. If I had to do it all over again, I would suggest that we model and then scaffold note taking skills using tools like VideoNot.es.

An add on to Google Chrome, VideoNot.es allows you to split your screen and watch an instructional video on the left and take time stamped notes on the right.

And because it is all integrated with Google Drive, it is simple to share notes in collaborative groups or just between student and teacher.


Here are some easy to follow instructions on getting started with VideoNot.es from Chris Morris:


----------------------------------------------------------
How do you teach your students to take notes?

Tuesday, August 26, 2014

FTT - Notable PDF

From the Chrome Store
Notable PDF - Viewer and Annotation Tool for Google Drive

@joe_edtech

One of the hurdles teachers face as they start to integrate Google Apps into their classrooms (the substitution step on the SAMR ladder) is how to make their printed materials usable once they've been scanned. It is easy to read PDFs in Google Drive, but it isn't so easy to make PDFs interactive. Notable PDF, available from the Chrome Web Store, solves some of the problem.

The first step is to go the the Chrome Web Store and add Notable PDF to your browser. Once you've done that, you'll notice that you will have options when you want to open a PDF in Drive.
This is from the Preview screen in Drive
The first time you open a file with Notable PDF, you'll have the option to watch a brief tutorial on the functions of the product. When the document opens, it will open with a black border and a few "menu buttons" on the right hand side. They are pretty standard annotation functions (highlight, strikethrough, underline, comment, add text, and select text), but if you hover over any of the buttons, you'll get a mini pop up with a description of the functionality.

Annotated Document using Notable PDF
In the example to the left, I added text in the white space of the PDF using the "add text" tool (capital A). 

I also added a text comment. Similar to working in Drive, comments are linked to some portion of the text. So after clicking the "dialogue bubble" icon, click on the pertinent text and type your comment in the pop up box that appears on the right hand side of the screen.

If you look at the top menu bar, you'll notice there are a few more tools. Most of them are pretty standard, but perhaps the most useful for your classroom is the "share" icon:
The share icon allows your students to add you to their Notable PDF documents. Once you've been added, you can see their annotations, add your own, and reply to their comments.

The good news is that annotations you make and comments you make are automatically saved in Notable PDF. However, Notable PDF is not a panacea. Depending on how the PDF is made (scanned as a picture or saved as a PDF from your PC) you may or may not get full functionality from all of the annotation buttons. The "add text" tool and the "dialogue bubble" for adding comments will always work, though.
-------------------------------------------------------------------
Notable PDF is just one of the many options for working with PDFs online. If you have one that you've used and have had success with, please share it in the comments box below.