Showing posts with label GAFE. Show all posts

Monday, November 5, 2018

FTT - Improving Student Communications with Google Products

Improving Student Communications with Google Products

@LisaBerghoff/@MrKimDHS


As mentioned earlier this year in a blog post about the SAMR model, its creator, Dr. Ruben Puentedura, is the real deal when it comes to innovation and wisdom in instructional technology and education. He's identified some complex challenges impeding the adoption of educational technology, and one such challenge is the ability to scale teaching innovations. Here's what I mean by scaling innovation:

Amazon has these wonderfully active factory floors where giant, roomba-like robots zip and zoom in perfect robotic harmony to move about hundreds of thousands of our impulse Amazon Prime purchases. While some jobs were unfortunately made obsolete, the efficiency of this system is crucial to support both the staggering growth of the Amazon empire, and our obsessive need to have [insert random household item here] delivered to our doors in two days for free! 

These efficient little machines are innovations that can be easily scaled. What works for one Amazon factory works for ALL Amazon factories. Unfortunately our classroom innovations do not always scale. Beneficial apps or digital resources that work for one class may not work for another class for various reasons like student age, course content, ability, instructor, and unfortunately financial support. 

This is what creates such value in tools like Gmail, Docs, Sheets, Slides, and other G Suite applications. These (relatively) free tech tools offer so much diverse utility to help establish digital equity and scale teaching innovations. (Disclaimer: I do not work for Google, nor do I get paid to advertise their products...but I am willing to. Call me Sundar!)

So on to the stuff! Heavily inspired by Vernon Hills High School's tech coaches, here are some simple ways to develop student communication with Google:

Student to Parents - Weekly E-mails

Encourage students to keep parents in the loop with a simple weekly/bi-weekly message. "Feedback Fridays" can be a quick 5 minute routine built into your curriculum. 


Student to Student - Class Backchannel

Create a Google Doc where students can communicate with each other during an activity in a non-intrusive or disruptive way.

Student to Teacher - FAQ Page

Ask students to contribute to a Frequently Asked Question doc or form. For individual projects or papers, create a Google Doc where students can add important questions. Students can initial questions they would like to be answered. 


Have other ideas for developing student communication skills? Post below!

Monday, October 9, 2017

FTT - Google Drive for File Storage

Google Drive
Two Tools: File Creation and File Storage 

@joe_edtech/@LisaBerghoff


Most people know that Google Drive is the online tool that allows your students to make collaborative documents, slideshows, and spreadsheets on their Chromebooks. I think many of us have also been using the tool frequently too when we want to collaborate with colleagues or survey students using Google Forms. But, it is really important to remember that Google Drive was designed to be two things, a place to create Docs, Sheets, and Forms, and a place to store ANY file. You do not have to convert files to store them on Google Drive. Literally any digital file can safely be stored in Google's Cloud and since we use Google Apps for Education, we have unlimited Google Drive Storage. Everything you've ever created on your computer can be stored in your school Drive Account and accessed by you from any computer.

Files that are stored in Google Drive do NOT have to be opened using Google Apps. For instance, I store Illustrator files in Drive, but I don't open them with Google Apps. I open them in Illustrator to edit them.

Google Drive is just a fancy way of saying Cloud Computing, but for those of us that don't live in the computer world, Cloud computing can be a scary and confusing topic. Last year, Lisa wrote another blog entry here that summed up Cloud Computing pretty well:

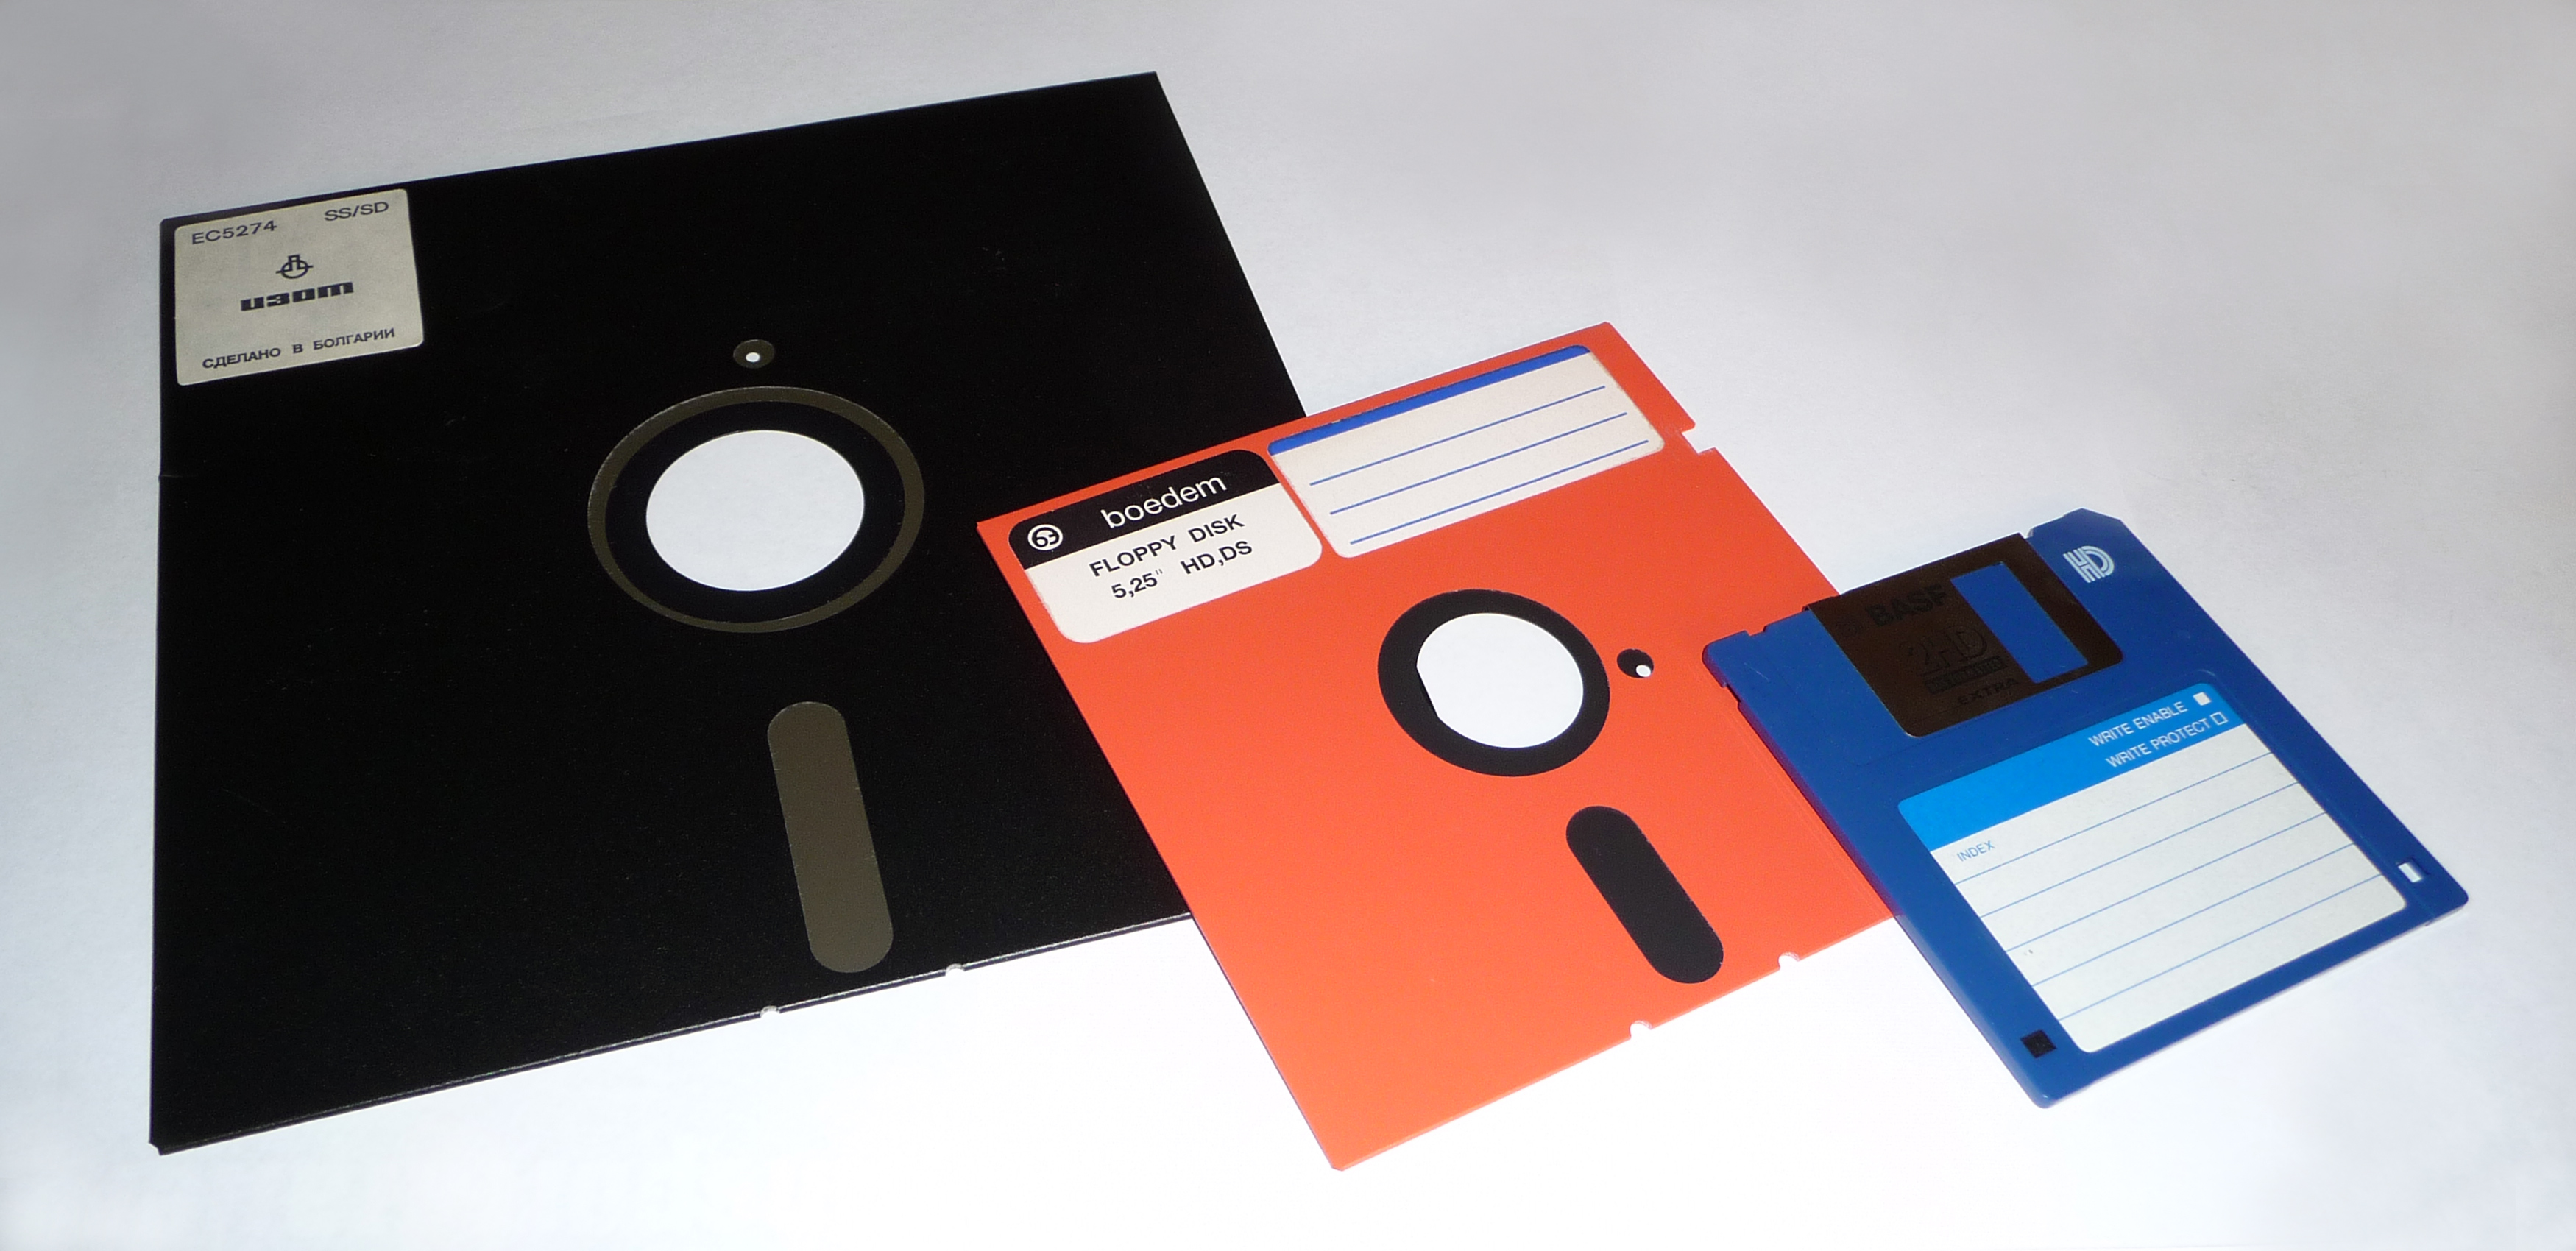
There are many things that I get nostalgic about when I think about the 80's and 90's. Floppy disks, however, are not in that category. Today we have many options for cloud storage. The latest and greatest of those is Google Drive. Here is a 2-minute video that explains the cloud. So many of you have asked and it's a great question. 


Why Would I Store Files in Drive?

The basic answer to this is that you have unlimited storage and you can access your files from any device that you own. Unlike with the old File Share option, you don't need anything special set up on your computer. You simply need to log into your Google Apps account from any device. When I go to visit my parents in Florida, I no longer take my computer with me. I don't need it. If I'm in a jam and need to access one of my files from school, I can log into Drive on my Phone and get what I need.

The biggest objection I hear to storing files in Google Drive is that some people don't want to change formats. Well, you don't have to change formats - not even from Word to Docs. In your Drive Settings, simply uncheck the box the box next to "Convert uploads," and your files will stay in their original format.


Both Deerfield and HPHS will be offering more training on Google Drive in the next few weeks. And you can always contact Lisa or myself if you have questions. But, the good news is you don't have to wait. There are literally thousands of help videos online that can answer help you answer any question you may have or provide you with a tutorial on getting started with file storage in Google Drive.

Here's an example Published by Anson Alexander from http://AnsonAlex.com.


---------------------------------------------------------------------------------------------------------------------
Some of you have been using the Google Drive App on your computer so that you don't even have to go through the Web to access your files. That process is getting even better with Drive File Stream. Look for an update on that very soon!

Tuesday, September 26, 2017

FTT - CloudHQ Extension for Gmail

One Tech Tool That Solves Two Problems:
cloudHQ Gmail Label and Email Sharing

@joe_edtech/@LisaBerghoff

I've always been a fan of serendipity. But I'm getting ahead of myself. Over the summer, a friend of mine said that she really needed to share a folder of emails (in Gmail, it is called a Label) with a colleague. She wanted to be able to do that without opening each email individually and forwarding it. I did a quick search and found cloudHQ, a Chrome extension with great reviews that purported to do just that. So, I installed it - then I found out it was even better than advertised.

Once installed and activated (it may ask you to sign in and authorize it multiple times) you'll see a new button at the top of your Gmail inbox.


It is pretty simple to use. Once you have authorized the extension and click the button, you'll get a pop-up box prompting you for the name of the label you want to share and the email addresses of the people with whom you want to share. 

If that were the end of the story, it would be good enough. But it gets better. When you install the extension and open an email message, you'll see an entirely new set of menu options:


In addition to the usual choices, you have the option to change the name of the email (the pencil icon), share a link to the email (the chain link icon), or SNOOZE the email (the alarm clock icon). I personally don't have any use for the first two, but I've been looking for a good option to snooze emails for a long time. If I get an email in my inbox that requires some action on my behalf, but the action isn't required for a significant amount of time I can click the snooze icon and hide the email until it is important. 

You can choose from a list of preselected Snooze times, or you can select an exact date and time. The email will be hidden until that time and will then appear at the top of your inbox. 

cloudHQ is a "freemium" service, but I only use the free stuff. If you run your own business or have run an organization outside of school, it might be useful to look into the paid services for syncing and backing up emails. I would love to tell you that I researched this tool and knew all of this in advance of sending it to my friend. But I didn't. It was just serendipity.

-----------------------------------------------------------------------------------------------------------------------
If you've found a better way to share labels or snooze emails, tell us about it below.

Monday, February 6, 2017

FTT - Boomerang for Gmail

Schedule Email and Reminders with Boomerang for Gmail

@joe_edtech/@LisaBerghoff

One of the things I have always loved about using Gmail is that it is completely customizable to fit my expectations of email and, because it is used professionally by so many schools and businesses, there have been tons of third-party applications and extensions developed to give each individual the user experience and functionality they need to be successful.

My favorite extension for Gmail is called Boomerang and it allows me to:
  • Schedule and email to be sent at a later date and/or time.
  • Schedule a reminder for an event or a deadline.
  • Hide an email for a time and schedule it to return when I need it.
  • Get reminders to follow up on emails you've sent that haven't been answered.
  • Find out who has opened an email you've sent or get "read receipts."
Start by installing Boomerang from the Chrome Web Store (you can find it here), then you'll notice that you have some additional controls in your inbox:


First you'll see the red "Send Later" button. Then you can schedule an email to be sent at a specific point in the future, whether you are logged into your computer or not. You might, for instance, compose an email on Friday afternoon and schedule it to be sent to your class as a reminder on Sunday night. Then it will automatically be sent whether you have time to get to your computer on the weekend or not.

If you click the box next to the Boomerang icon, you will be sent a reminder to follow up on an email that you've sent for which you've received no response. If I check the box as seen above, I will be reminded of this email if I've received no reply in 2 days.

Clicking the blue envelope icon allows you to receive receipts when people open your email, or you can manually check to see if an email has been opened.

Here's the official video on most of the basic features of Boomerang:


But there is a lot more. With the advanced features of Boomerang, you can track responses to your emails, set recurring messages, add notes to your Boomeranged messages, and schedule messages from your phone or tablet.

Boomerang's help page is fairly extensive, and includes video instructions to accompany most of the frequently asked questions:


Boomerang Help Page: http://www.boomeranggmail.com/faq.html
------------------------------------------------------------------------------------------------------------------
If you have another extension or Gmail lab that you use frequently, tell us about it in the comment section below.

Tuesday, December 13, 2016

FTT - Beginner Tips for School Gmail


You've Got Mail!

5 Beginner Tips to Get You Started with Gmail

@LisaBerghoff/@joe_edtech


As we make our way through the transition from Outlook to Gmail, we will continue to provide you with resources, tips and tricks. Many of you are figuring these out on your own and it's exciting to see colleagues sharing their new knowledge with one another. As a reminder, please use the Outlook To Gmail website, created by Ron K. You can find it by clicking this link. I recommend that you bookmark it by clicking on the star located in the URL bar in Chrome. 

Here are 5 Tips To Get You Started...

1. Know How To Get To Your Mail

Gmail is web-based, which means you can access it from any device on the internet. You can get to it by opening a browser tab, preferably in chrome, and click on "mail".
You also have the option to get to it from your apps doc. If you add the gmail app from the chrome store, you can pin it to the taskbar on the bottom of your screen.


2. Set Up Your Signature

This is a great first step because it will help you learn how to go into the settings menu. You just click on the gear in the upper right corner of the mail screen and click settings. Don't be overwhelmed by what you see there. There are many options in gmail and you have plenty of time to explore and check them out, pace yourself! You will notice that you are in the "general" tab of the settings page. Scroll down almost to the bottom of the page and you will see where to add your signature. Yes, you can copy and paste your old Outlook signature in your gmail signature box. After entering your signature, scroll to the bottom and click "save changes"

3. Learn How To Set Vacation Notifications

It's almost vacation time! Make sure you go back into settings by clicking on the gear and click "settings". Stay on the general tab of settings and scroll to the bottom of the screen where you will see "vacation responder".
You can add your vacation message in the box and set the dates for that message to be automatically sent as a reply to your incoming email messages.


4. Get Yourself A Reading Pane and Mini Calendar

This one is very polarizing. People either love the reading pane or they hate it. I'm in the love it category so I was excited to see how easy it is to set it up. Click on the gear and click settings. Then, click the "labs" tab. You can enable or disable these features. Here, you will see the preview pane and the Google calendar gadget. Scroll to the bottom of the screen and click to save your changes. Then, when you go to your gmail inbox, you will click the icon just to the left of the gear and click "vertical split"
This will add your preview pane. You can adjust the size of your preview pane by clicking and dragging the line that separates the pane from the list of messages.


5. Choose A Theme

Is there a specific color that makes you happy? Maybe you have a vacation photo that makes you smile. Set a theme for your gmail by clicking on the gear and clicking "themes". You can choose an existing theme or use one of your own photos. You can adjust the contrast for your text background, blur or darken the edges of your theme. 

These first steps should help get you started in the world of gmail. I know that intially it may feel like trying to cram a square peg in a round hole, but I believe that this is an opportunity for us to work together and learn from one another. It's so interesting to me to learn the different styles and preferences people choose for their email. It also gives me pause and makes me reflect on what it was like to teach without email at all. The fact that we can communicate with each other, our students, parents, and community members at lightning fast speeds still amazes me. We've come a long way!


Have you found some new and favorite features in gmail? Feel free to share below. 

Tuesday, December 6, 2016

FTT - Google Calendar

Getting Started With Google Calendar

@joe_edtech/@LisaBerghoff

Even before I started in District 113, I've had teachers and administrators ask me about the best way to take advantage of digital learning platforms. There are tons of great things to do, but my experience tells me that the biggest game changer is the ability to share live digital calendars with our students. As an adult, I have grown to rely on calendar reminders, emails, and text messages to remind me of important upcoming events. I know that a simple calendar with due dates and test dates would have made me a better student in high school. 

That's why I was always stunned by the fact that we had teachers and staff on one digital platform and our students on another. In order to share calendars with students, we were asking our teachers to live in two different digital worlds. Our switch to Gmail changes all of that and I'm really excited about the possibilities.

There is too much to know about Google Calendars to share everything in one post, but today I want to focus on what I believe are most important things to get started using Google Calendar well: settings, sharing, viewing and hiding calendars, editing events.

Settings:

Every Google App has its own settings so that you can customize it to work the way you'd like:

There are two ways to get to your calendar settings. The first is to click the pull down menu bar from "My calendars" on the left hand side of the screen:

Or, as with every Google App, you can click the settings gear in the upper right hand corner:
The first thing I changed in settings was "Default event duration." In Outlook, the default for a meeting was always 30 minutes. I like to events set at 60 minutes. But you have several different choices. However, the most important part about settings has to do with how you view your calendar. I like to look at it this way:

I want to see the whole week, including Saturday and Sunday, at one time. Notice at the top of Google Calendar, you can choose to look at your calendar by Day, Week, Month, 4 Days, or as an Agenda. However, one of those will be a default view. In other words, every time you open your calendar it will default to...something. I like the Week view. But in settings, you can choose any of them.
You can also set a Custom view for your calendar. If you only want to see a five day calendar, you can make that a Custom view and then set that as your default.

Sharing Your Calendar:

You can change share your calendar with colleagues, spouses, or students by clicking on the pull-down menu bar next to your individual calendar and selecting "Share this Calendar" from the list:

I don't expect everyone to be as open and public as I am, but my calendar is shared with anyone who wants to see it. People who add my calendar can only see when I'm free or busy, and they can't make any changes to my calendar, but anyone can see my calendar. By default, we should share our calendars within District 113 with free/busy times so that admin assistants and department chairs can see your calendars and propose meetings during common free times.

But, you can also choose to share your calendar with individuals. In the example I've included below, I've shared my calendar with several of my colleagues and my personal Gmail account with different permission levels. If someone sets appointments for me, I want them to be able to see all events and be able to edit events.


Viewing Calendars:

In the example calendar I posted above, I can actually see 3 calendars at one time. The first is my normal work calendar, which shows my scheduled school events. The second is my calendar for home, which shows when my daughter's concerts and school events are, when my wife or daughter has something important planned for us to do, and when I need to mentally prepare for family coming to visit (this shared home calendar has prevented many arguments and created some measure of family peace - I highly recommend a shared calendar at home). The third calendar doesn't have many events on it, but it is the most important. It shows when I have tickets to see Rogue One: A Star Wars Story. For easy differentiation, my work events are in grey. My home events are in red. And my Star Wars events are in Orange.

You can hide or view your different calendars by clicking on their titles on the left hand side of your Calendar screen. In the example below, I can see the Joseph Taylor, Birthdays, Brian Verisario, and DHS Library calendars. However, the Free Tech Tools Tuesday calendar is hidden (The color block is white and the text is greyed). 
If I click on the Birthdays, Brian Verisario, and DHS Library calendars, they will be hidden from my overall view. But all I have to do is click them again to make them reapper. If you decide that you want to get rid of a calendar, or if you want to change the default color for a calendar, take your mouse and hover over the particular calendar, then select the pull down menu for the calendar:


From here you can select "Hide this calendar from the list," which means it won't appear on your calendar or in your list of calendars any more. Or, you can simply choose a new color for easy differentiation.

Editing Events:

While you can do an event quick add by simply clicking on the calendar and typing in the name of an event, you can add a ton of information and invite other people to events by clicking the "Edit event" button.

At the top, you can add a title, change the date and/or time, or make the event an "All day" or "Repeating" event. You can also put the event on a different calendar. For instance, I could use the pull down bar next to Calendar to add this to my home calendar instead of my work calendar. You can add a description, add an attachment (especially useful if your are using this with students), color code individual events and add guests. My favorite part about Google Calendar, though, is the fact that you can decide what notifications to add - and how frequently. And I can choose to be notified by email, web browser, or SMS text notification.

By the way, I would love to be able to set the calendar so that all of my students can be notified of major events through SMS text messaging - but I can't. These are individual settings. However, in calendar settings, everyone can set up default notifications. So, you can walk your class through that process or send a short hand out home so that parents know that kids can set up text notifications.

These are just the basics for getting started. There is a lot more information to come, and both schools will be setting up hands on training sessions in the very near future.


Tuesday, November 29, 2016

FTT - New Google Sites

Google Put The "NEW" in Google Sites!


@LisaBerghoff/@Joe_EdTech

I recently had a chat with a good friend who is in sales. We were talking about the holiday shopping season and buying trends. My friend made a comment that I found particularly interesting. She said, "It's very easy to sell people what they already have and love".  This certainly seemed true when I went home and looked into my closet. I am only a little bit embarrassed to share with you that I own more than 3 pairs of black pants and several gray tops.  I try to mix it up, but find myself gravitating back to what feels comfortable and what works for me. 

Her comment made me think about our relationship with Google products. We love that we can collaborate, easily share, auto-save, and track our changes on Google docs, slides, sheets, forms, and drawings. The one product that has been a bit of an anomaly is Google Sites, Google's website creation tool. For the past few years, teachers and students have commented that Google Sites is not at all intuitive.  It doesn't have those wonderful features that make us go back to Google products over and over again. 

Over the summer, Google announced that a new version of sites was being tested with a small group of customers. Our district staff was chosen to be part of the Early Adopter Program so we could get our hands on the new version of Google Sites as soon as possible. About two weeks ago, our students were granted access to the new Google Sites via Google's rapid release program. 

Teachers who have used the new Google Sites are pleased that those familiar and favorite features of other Google products are now part of the website creator. We can now hang Google Sites in our closets right next to docs and all of those black pants! Yes, it means that I need to re-do all of my Google Sites training videos, but I am excited about the new features that we now have. 

Here Are The Main Features In The New Google Sites:

1. Drag and Drop Editing: 

The "classic sites" version has several drop down menus and settings to change. The new Google Sites allows you to add items to your webpages by dragging and dropping to add content and rearrange items, including images and other media. 

2. Real Time Collaboration and Save:

Yes, you can add editors to your classic sites. However, only one person can be editing on a page at a time. Everyone else is locked out while the page is being edited. The new Sites allows for real-time collaboration much like multiple editors on a Google doc. Multiple editors can work on a web page at the same time and see the changes happen live. Also, your edits will automatically save. When you are ready to go live, you can publish to your organization or to the web. Once you publish, you can continue to edit your site. 

3. Design For Multiple Devices:

Classic sites users know that webpages often only display well on standard computer monitors. This is not realistic as we know that our students, parents, and other teachers are often using devices like smartphones and tablets. The ability for the display to adjust and scale to other screens is called responsive design. The new Google Sites themes use responsive design so they look great no matter what size screen you are using. 

4. Very Easy Access To All Of Your Drive Content And Ability To Embed External Content:

Since Google basically started from scratch with the new Google Sites, it makes sense that there is more streamlined connectivity with all of your content stored in Drive. You can also grab an embed code to embed external content, such as an article or favorite blog post. That's a hint!

Do not panic if you are using classic sites and are not ready to make a switch!

Google has announced that "Classis Sites will continue to exist in parallel to new Sites as we add capabilities to new Sites that are similar to those found in classic Sites". Beginning in 2018, Google will send timelines and instructions for gradually migrating from classic to new sites. 

In other words, the new Sites is very pared down right now and as they are adding more features they will keep classic sites open. They will offer advice and instructions on how to make the switch eventually from classic to new. 

If you are curious and want to see what it looks like, just click the Sites icon in your apps doc, which is the collection of nine dots in the upper right corner of your screen. When you click the red "create" button, you can choose new sites and check it out. If you are just starting projects where your students are creating sites, I would go ahead and have them create using the new version of Sites.  

As always, I'm here to help you figure it all out, or just offer some moral support as you try these new tools with your students. 

Here is a 3 minute video created by GSuite. It shows you how to get started using the new Google Sites. 

And for those of you who are reading to the end, I want you to know that I am thankful for you!
Here is a little gift. It's a video from my favorite president: Kid President. He offers up 25 reasons to be thankful. I hope it makes you smile. He tends to have that effect on people.


--------------------------------------------------------------------------------------------------------------

Are you using the new Google Sites? Feel free to share your comments below.

Do you have things to add to the list of reasons to be thankful? Please share!


Tuesday, October 4, 2016

FTT - uBlock Origin

Decommercializing the Web for the Classroom (and Maybe Home, Too)

@joe_edtech/@LisaBerghoff

Today we are proud to start featuring Free Tech Tools proposed by some of our classroom teachers. This guest post is from DHS Social Studies Teacher, Dan Kim (@TheMrKim).

I had always considered myself to be a price-savvy, prudent consumer who wasn't susceptible to the same greasy advertisement schemes, ploys, and tactics that suckered the rest of society.

And then I began shopping for an engagement ring.

One of the best and worst parts of planning a proposal is the immense pressure of creating that perfect moment of astonishment and surprise.The mental gymnastics involved in somehow discretely acquiring a person's ring size, or moving the little ring box from its original hiding place in the bathroom closet, into a much safer, much smellier left tennis shoe in the middle of the night, speaks volumes of the necessity for discretion.

You could then imagine my horror when after a few nights of researching engagement rings online, my browsers were now full of engagement ring related ads and pop-ups basically screaming at my girlfriend that things were about to get real.

Now if you've done any amount of online shopping, you will either find it creepy or helpful that firms will often keep tabs on your search history to populate relevant ads on your websites. Led by internet giants like Google and Facebook, ads have become more and more sophisticated and pronounced.

IMBD Site WITH Ads
This is where a neat, light-weight Chrome Extension called uBlock Origin comes in. uBlock Origin will filter and block the majority of ads that you see and experience on the web. Without going too deep into the ethics of ad blocking, it is safe to say that ads are detrimental to the classroom environment.

IMBD Site WITHOUT Ads - uBlock Origin
Ever try to show a YouTube video in class that was preceded by an inappropriate, awkward, and unskippable commercial? Or see a popular website taken over by large, obnoxious advertisements? uBlock Origin can help.

Perks of uBlock Origin:

  • Websites will load faster
  • Mobile users won't have to waste data on bandwidth-hogging commercials or advertisements. 
  • Filters advertisements that contain viruses, malware, and phishing messages.
  • Block all ads on YouTube


Once installed, users will not have to do anything to enjoy the benefits of uBlock Origin. It's a simple plug-and-play extension that works so well that at times I forget it’s even installed!

Now there are a few things to consider once the extension is installed. Some websites have caught on to ad-blocking, and will not allow users access to their sites until the ad-block is disabled. Users can simply pause uBlock Origin by clicking on the giant power button on the menu on the top right corner of your browser.


Are ads disrupting your online educational experience? Feel free to post comments below!
--------------------------------------------------------------------------------------------------------
Gotta free tech tool you'd like to share? Contact Lisa or Joe to be a guest blogger!


Tuesday, August 30, 2016

FTT - Google Form Quizzes

Creating Quizzes Using Google Forms

by
@joe_edtech/@LisaBerghoff

Google forms has always been a great tool for formative assessment. In the past, though, we've had to use an add-on called Flubaroo for grading. However, over the summer, Google released a major update to Forms allowing you to turn any form into a self-grading quiz with the flip of a switch. Follow the directions below to get started.


Start by creating your quiz as you always would. By the way, even though you automatically collect your students' email addresses in the process, I think it is a good idea to create questions for their first and last names. I'd also create a question for the period of your class. These quick steps will make it easy for you to view and sort the responses in spreadsheets if you choose to do so.

I recommend using short text items for students to enter their
names and the class period.
You can then start asking questions. Google Forms will automatically multiple-choice, checkbox, dropdown, linear scale, and multiple-choice grid items. Type in the questions and answer choices like you always have. Then click the "gear," or settings icon, in the upper right-hand corner of the form screen. You'll get a pop-up window with three tabs.

On the "General" tab, you can restrict the quiz to district users, automatically collect their email addresses (which is very important if you want to automatically send their scores to them), and limit each user to only 1 response.
There's one other big change on this page. If you uncheck the box next to "Response receipts," your students will not have the option of having a copy of the quiz and their answers emailed to them.

On the "Quizzes" tab, you'll need to first click the slider next to "Make this a quiz." Then you can make some decisions on when students get results, and how much information they receive. (Each option has a little question mark after it. Simply hover over the question mark to learn more about the option.)

Once you click save you'll need to set up your answer key.

Underneath each quiz item, you'll see a link titled "ANSWER KEY."
Click that link and you'll have a slightly different view of your quiz items. Now you can select the right answer and decide how many points each item is worth.


When you are finished making the quiz, click the "SEND" button to share the form with your students. 
You can email the form directly to your students or you can copy the link and post it to your Google Classroom, website, or Google Plus Community.

After your students take the quiz, you can view the results in a spreadsheet, or you can view responses in the form itself. 

Here is a pretty detailed video on getting started with Google Quizzes from fellow Google Trainer Mark Repp:


________________________________________________

This is meant to get you started with the Google Form Quiz feature. Lisa and I will share some advanced user tips in future blog posts. 


Tuesday, May 10, 2016

FTT - Google Slides Q&A Feature

Getting Interactive With New Features in Google Slides

@joe_edtech / @LisaBerghoff

Let's face it. I'm sold on Google. I'm Google Certified. Google Apps is my GoTo product in nearly every situation. I even suggested once that my work title be changed to "The Great Googley Moogly!" Copyright laws and a sense of responsibility prevented that from happening. 

However, I know that there are a lot of people out there who resisted adopting Google Slides initially because it was clunky and a little cartoonish. In the last few months, Google has added three features to Google slides that just might have its doubters taking a second look.

1. Presentation Templates

You never need to start a presentation from scratch. If you go to slides.google.com, or "File - New - From template," you can choose from a selection of professionally designed slide templates. All of the templates come with a variety of slide types and suggestions for presenting data.


Each of the templates has a variety of different slides that can be customized with pictures, colors, themes, etc.
Google Slide Template "Your big idea"

2. Embedded Q & A Feature

Every once in a while, Google has to retire a tool that has reached its end of life - usually because it simply isn't being used by very many people. One such tool, and one that I really liked, was called Moderator. Using Moderator, teachers or presenters could provide a space for students or audience members to ask questions during a presentation. All of the members of the class could see the questions and vote on their favorites. The more votes a question got, the more it moved to the top of the list of questions to be addressed by the "moderator" at the end of the presentation. The idea was that we usually have a limited amount of time to ask questions at the end of presentation. A tool like "Moderator" ensures that the most important questions- the ones most people in the audience want answered - are asked first.

While "Moderator" is gone, its best features are now a part of Google Slides! When you go to present, you can turn on the new Q&A Feature:

The Q&A Feature isn't complicated, but it is probably easier if you see what it looks like before you use it. So, I made a very short demo video below:


3. Virtual Laser Pointer

It's always good to be able to focus your audience on a single bullet point or statistic in your presentation. If you have a laser pointer, that's fantastic - but the FAA may want a word with you. If you don't have a laser pointer, you can use the new built-in pointer in Google Slides. When you are presenting, you can choose to turn your "laser pointer" on and it will create a highlighted trail as you move your mouse across the screen. 


For those of you hockey enthusiasts out there, the NHL tried something similar with the puck on TV broadcasts a few years ago. This seems a little more useful.

------------------------------------------------------------------------------------------------------------------
Noticed something new in Google that might be useful to share? Please tell us about it in the comments below.