Tuesday, October 31, 2017

FTT - Share to Classroom Chrome Extension


Get Everyone On The Same Page: Share To Classroom

@LisaBerghoff/@Joe_EdTech


More and more teachers have been using Google Classroom because it serves as one place for students to access what they need for our classes, it is easy to use, and allows us to communicate with our students without the need for email. With our 1:1 devices, teachers are finding new ways to make sure our students are engaged and interacting with information. Learners are able to access information quickly and then use critical thinking skills to solve problems with their new knowledge. As teachers, we often get excited when we find new sites or tools to use in the classroom. One issue, however, is how to get all of our students to open the webpage when we need them to. Gone are the days where you need to write an entire URL on the board and have the students copy it down and enter it, exactly, in order to get everyone on the same site at the same time. That never seems to go well. If you are a Google Classroom user, you will no doubt find the Share To Classroom extension to be very helpful. This extension will enable you to send a webpage to your students and have it open up on their chromebooks right before your eyes. It also allows you to post announcements, assignments, or save webpages to be pushed out at a later time. Students can also share webpages with their teacher using this extension. 

Quick Lesson: Application vs. Extension vs. Add-On 

We use these terms a lot and it is important to understand what they do and where to find them.

Application (App): 

Web apps are basically websites. They have functionality within your browser and run without the need to download software. Gmail and Google maps are examples of web apps. In the chrome web store, you can choose web apps that are websites and chrome apps. Chrome apps are basically software programs that often can run even if you are not online. There is a gmail chrome app that you can get from the chrome web store that will allow you to access your email offline (limited functionality). Your apps that you have added from the chrome web store can be found in your apps doc in the upper left corner of your screen.

Extension: 

Extensions function while you are using an app or a website. They enhance the functionality of the tool you are using. The Share To Classroom extension allows you to access your Google classroom while you are on another webpage. The extensions show up as little icons to the right of the URL bar. Fun fact: The URL bar is called the omnibox.

Add-On:

Add-ons are similar to extensions, but they are scripts that only work within certain applications. For example, there is an add-on that will allow you to send emails from a Google spreadsheet. It enhances the functionality of the app but it only works in sheets. 

Ok, back to Share To Classroom...

Step 1: Go to the chrome web store and add the Share To Classroom extension. When you add it, you will see the little green icon pop up on the upper right of your screen. 
Step 2: Have all of your students also add the Share To Classroom extension. It will NOT work unless everyone has it.
Step 3: When you are on a webpage that you want to send, click the little green icon for the extension. The extension will show up as long as you are signed in to your district chrome account.
Step 4: Choose a class and then click "push"

That's it! 
Below is a screenshot of me pushing the Yellowstone National Park website to my biology students.


There are lots of practical uses for this extension. What I like most about it is that with technology we often miss the step of how to get the information to our students and that is when we lose instructional time. There is no need to spend time trying to make sure your students are all on the webpage that you want, just open it for them using Share To Classroom.

Here is a short video from The Gooru, showing how it's done...


Are you using this extension? Do you have other extensions that are working great for you? Feel free to post in the comments section below. 

Monday, October 23, 2017

FTT - 2 Add Ons to Make Google Sheets Easier to Read

Image from New Visions Cloud Lab

They Completed Your Google Form. Now, How Do You Read Their Answers?


@joe_edtech/@LisaBerghoff


This year, your students will sit for HOURS completing the PSAT, SAT and ACT assessments. One of the reasons the State and Federal Governments have adopted such tests is that they are incredibly easy to grade - objective tests with a lot of selecting the right answers. All you have to do is run the answer sheet through a simple computer program and you have mountains of "achievement data" to turn into color-coded graphs.

In the real world, and in the classroom, answers are not always objective. And most teachers want their students writing critically and creatively. Ask any Google Apps for Education teacher and they'll tell you that forms are the most efficient way to incorporate assessment for learning into the classroom. But, have you ever tried to read a free response answer or an essay on a Google Spreadsheet? If you have, you just winced. If you haven't - DON'T DO IT!
Save as Doc Add On

The Google Add On Store offers two great solutions for taking the written information in Google Form Response Spreadsheets and turning it into something useful. The first, and easiest tool is called "Save as Doc." This Add -On takes a column from a spreadsheet and saves the data in a very readable Google Doc. (See below for a demonstration of the "Save as Doc" Add On.) "Save as Doc" is probably best used if you want to generate a discussion with a group or quickly glance through answers to check for understanding. At a recent workshop, I had teachers fill out a form on which they wrote down some ideas they have about student grades. Rather than opening the results spreadsheet, I used "Save as Doc" and displayed the anonymous answers to the group to generate a full discussion.


The other Add On worth discussing is a little more complicated, but is perhaps my favorite Google Tool, and will prove worth your time to learn and utilize. autoCrat, by New Visions Cloud Lab, is a tool for merging data from a spreadsheet into a Doc or into another spreadsheet. Imagine giving your students an online quiz using Google Forms and having a Google Doc generated for each student with their answers displayed in an easy to grade, easy to comment, and easy to share way. You can also use autoCrat to create certificates or mail merge letters. Written directions for autoCrat can be found on the New Visions Cloud Lab page, or you can watch the video, created by Brent Coley, embedded below for step-by-step instructions:

--------------------------------------------------------------------------------------------------------------------------
One of the benefits of being a part of the Google Apps for Education Community is that all GAFE Teachers and Trainers create "how to" materials for using Google products. While the first video is mine, the second video is posted by a fellow Google Education Trainer. If you find another good video tutorial for a Google Add On, please share it with us in the comment box below.

Tuesday, October 17, 2017

FTT - Kami for Annotating PDFs


Annotate, Highlight, and Mark Up PDF's With Kami


@LisaBerghoff/@Joe_EdTech


One of the most common tasks that teachers and students look to do when dealing with digital text is to be able to annotate, highlight, and mark-up a document. I personally like to highlight and annotate on paper, it is how I learned to annotate when I was in school.  However, I also really like having my documents available without needing to carry folders or binders with me. It is empowering to be able to access my documents from any device that has internet capabilities. While I like to say we should use less paper instead of being paper-less, there are times when we need our students to interact with text in ways that can be tricky online. For students who struggle with fine motor skills, keeping track of their books, or who benefit from the text to speech features that work with chromebooks, there is a tool that works beautifully.


One of the most popular chrome pdf apps is Kami, which means paper in Japanese. It supports pdfs, documents, and images. The list of tools is vast and includes a PDF and document viewer, highlighter, ability to add notes, underline, and more. Work that is done in Kami can easily be shared with others.   For teachers, Kami is helpful when looking at online resources like e-books and publisher-supplied PDFs. This is a freemium app that has a "teacher plan" with more features.

From KamiHQ.com

Instead of printing or copying worksheets, give Kami a try. To get started, get Kami from the chrome web store.  There is also an OCR tool. OCR stands for optical character recognition and it basically takes the text from PDFs and images and the tool converts the text into an editable format. When the app is open, you can drag and drop the file into the OCR tool and then it is ready to be read and annotated online.

--------------------------------------------------------------------------------------------------------------------------
Are you using Kami for PDFs online? Post in the comments section and let me know how it's going!


Monday, October 9, 2017

FTT - Google Drive for File Storage

Google Drive
Two Tools: File Creation and File Storage 

@joe_edtech/@LisaBerghoff


Most people know that Google Drive is the online tool that allows your students to make collaborative documents, slideshows, and spreadsheets on their Chromebooks. I think many of us have also been using the tool frequently too when we want to collaborate with colleagues or survey students using Google Forms. But, it is really important to remember that Google Drive was designed to be two things, a place to create Docs, Sheets, and Forms, and a place to store ANY file. You do not have to convert files to store them on Google Drive. Literally any digital file can safely be stored in Google's Cloud and since we use Google Apps for Education, we have unlimited Google Drive Storage. Everything you've ever created on your computer can be stored in your school Drive Account and accessed by you from any computer.

Files that are stored in Google Drive do NOT have to be opened using Google Apps. For instance, I store Illustrator files in Drive, but I don't open them with Google Apps. I open them in Illustrator to edit them.

Google Drive is just a fancy way of saying Cloud Computing, but for those of us that don't live in the computer world, Cloud computing can be a scary and confusing topic. Last year, Lisa wrote another blog entry here that summed up Cloud Computing pretty well:

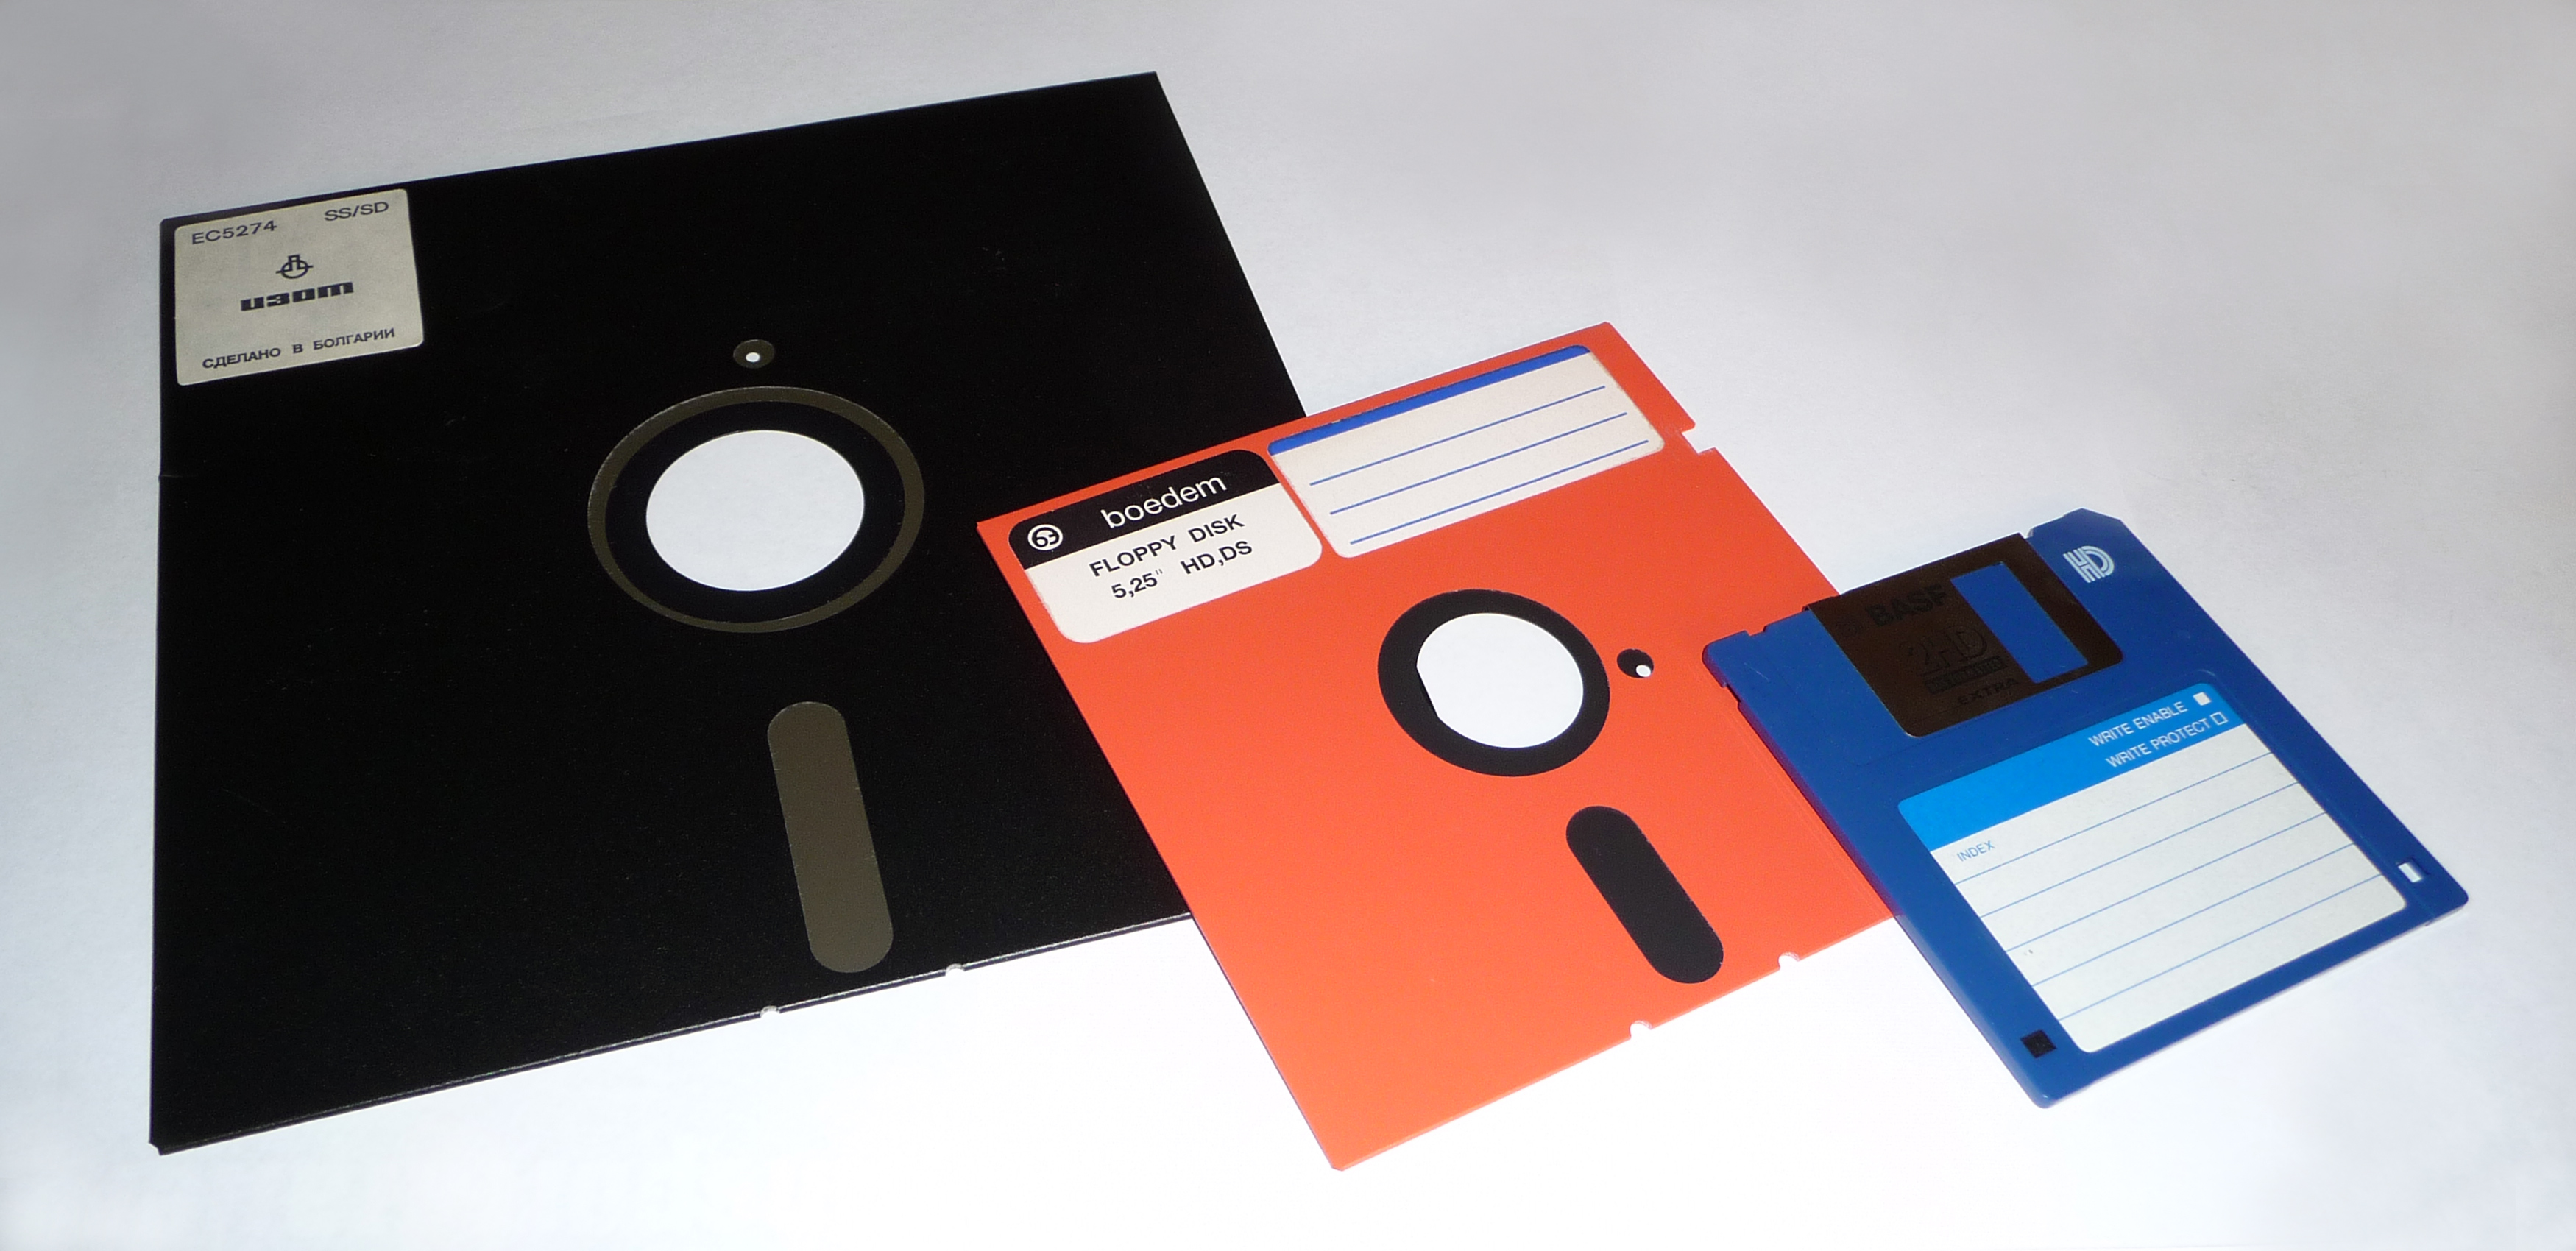
There are many things that I get nostalgic about when I think about the 80's and 90's. Floppy disks, however, are not in that category. Today we have many options for cloud storage. The latest and greatest of those is Google Drive. Here is a 2-minute video that explains the cloud. So many of you have asked and it's a great question. 


Why Would I Store Files in Drive?

The basic answer to this is that you have unlimited storage and you can access your files from any device that you own. Unlike with the old File Share option, you don't need anything special set up on your computer. You simply need to log into your Google Apps account from any device. When I go to visit my parents in Florida, I no longer take my computer with me. I don't need it. If I'm in a jam and need to access one of my files from school, I can log into Drive on my Phone and get what I need.

The biggest objection I hear to storing files in Google Drive is that some people don't want to change formats. Well, you don't have to change formats - not even from Word to Docs. In your Drive Settings, simply uncheck the box the box next to "Convert uploads," and your files will stay in their original format.


Both Deerfield and HPHS will be offering more training on Google Drive in the next few weeks. And you can always contact Lisa or myself if you have questions. But, the good news is you don't have to wait. There are literally thousands of help videos online that can answer help you answer any question you may have or provide you with a tutorial on getting started with file storage in Google Drive.

Here's an example Published by Anson Alexander from http://AnsonAlex.com.


---------------------------------------------------------------------------------------------------------------------
Some of you have been using the Google Drive App on your computer so that you don't even have to go through the Web to access your files. That process is getting even better with Drive File Stream. Look for an update on that very soon!

Tuesday, October 3, 2017

FTT - EdPuzzle

Don't Just Watch, 

Engage, With EdPuzzle

@Lisa Berghoff/ @Joe_EdTech


I am definitely dating myself here, but I grew up watching Mr. Rogers' Neighborhood. I used to love watching the beginning of the show after he changed out of his suit jacket and into his sweater and after he changed into his sneakers, he would talk about what he was up to that day. He would look right into the camera and ask us questions like: Do you ever wonder how pencils are made? or, Have you ever planted a seed? He would pause for a moment, giving us kids a chance to think about the answer. Sometimes my sister and I would even be compelled to answer out loud. Watching Mr. Rogers was more than just a passive exercise in consumption of content. He was a master at getting us to pause, reflect, and even respond. 

Since we have become a 1:1 Chromebook school, with each student having their own device, teachers are utilizing more and more video in their lessons. As our students are watching videos, we want them to interact with the content. We want them to reflect, be thoughtful, and make connections. In short, we want to turn a video into a lesson.

EdPuzzle is a platform where you can turn any YouTube (or other) video into your next lesson. It is super simple to set up, the analytics tell you if your students are interacting with the video, and it is easy to share lessons with colleagues. Also, I should mention that it is FREE! Another bonus is that it works seamlessly with Google Classroom. 


According to EdPuzzle, more than 84% of students use YouTube to help them with homework. The nice thing about videos is that they allow students to learn at their own pace. They can pause or re-watch videos, which they cannot do during your class. Using video in this way allows students to have some control over their learning. 

Here is how EdPuzzle works.
Step 1:  Upload or choose a video. Built into the EdPuzzle platform is a whole list of places to find great educational videos including YouTube, Khan Academy, National Geographic, TED, etc. You then have the opportunity to crop the video. If you have a long video, you can easily crop it so your students will only see a portion of it. 

Step 2: You can add an audio track to the video. If there is something that you want to explain in your own words, you can record it right in EdPuzzle.

Step 3: Now you have an opportunity to add audio notes. For example, you can add an introductory comment that will show up before the video begins. 

Step 4: At this point, you can add questions to the video. As your students watch the video, it will pause and your questions will pop up. You have the option of adding open-ended questions, multiple choice questions-if you choose this option you can make an answer key and it will auto-grade for you, or just insert a comment which can have a link, an image, an equation, or text. 

Step 5: Once you have your video lesson set up, you can assign it to your class. It will automatically assign in Google Classroom or you can give your students a link directly to the video. You can assign it with a due date and you can also check a box that will prevent students from skipping ahead in the video. When you assign it to a class, you can track student answers, see who viewed the video and how many times they viewed it.

----------------------------------------------------------------------------------------------------------------
Are you using video in your classroom? What tools are you using? Go ahead and post in the comments section and share what is working for you.